Building a Markdown Editor with React
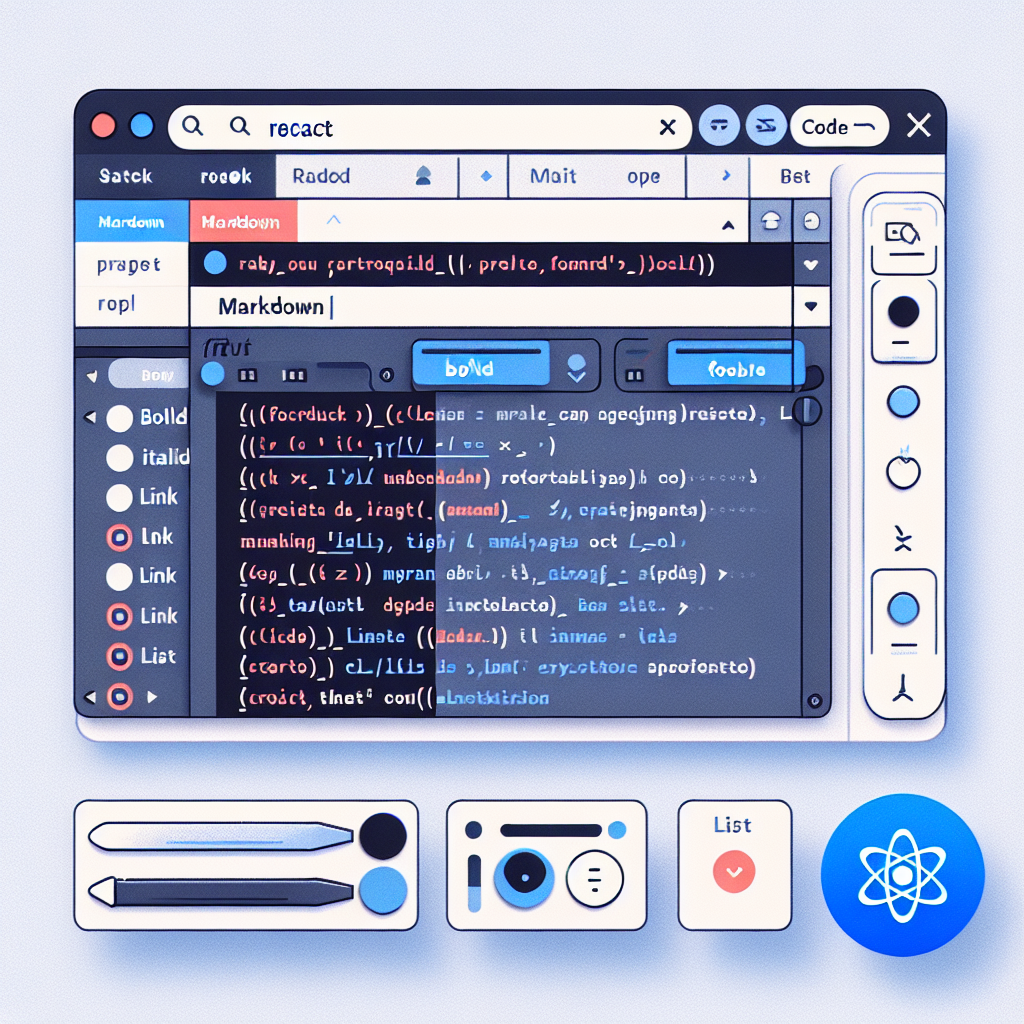
This article explains how to build a fully functional Markdown editor using React. It covers environment setup, installing dependencies, creating components, adding styles, and using the component.

"Need to convert or format Markdown? Check out our free tools– they're easy to use and always available."
In modern front-end development, Markdown editors have become a common feature in various content management systems, blogging platforms, and developer tools. React, as an efficient and flexible front-end library, is well-suited for building dynamic and highly interactive applications. This article will introduce how to build a fully functional Markdown editor using React.
What is Markdown?
Markdown is a lightweight markup language designed to generate structured documents using an easy-to-read and easy-to-write plain text format. Markdown can be easily converted to HTML, making it widely used in blog posts, documentation, emails, and many other scenarios.
Why Choose React?
React is an open-source JavaScript library developed by Facebook for building user interfaces. Its core philosophy is to make code more maintainable and efficient through component-based architecture and declarative programming. Using React to build a Markdown editor not only boosts development efficiency but also achieves high performance and real-time preview capabilities.
Steps to Build a Markdown Editor:
1. Setting up the Environment
First, make sure you have Node.js and npm installed. Then, initialize a new React project using Create React App:
npx create-react-app markdown-editor
cd markdown-editor
npm start
2. Install Dependencies
To parse Markdown, we'll need a parsing library. Here we'll choose marked, and to implement real-time preview, we'll use the dangerouslySetInnerHTML method.
npm install marked
3. Create the Markdown Editor Component
In the src directory, create a MarkdownEditor.js file and write the following code:
import React, { useState } from 'react';
import marked from 'marked';

const MarkdownEditor = () => {
  const [markdown, setMarkdown] = useState('');

  const handleChange = (e) => {
    setMarkdown(e.target.value);
  };

  const getMarkdownText = () => {
    const rawMarkup = marked(markdown, { sanitize: true });
    return { __html: rawMarkup };
  };

  return (
    <div className="markdown-editor">
      <textarea
        value={markdown}
        onChange={handleChange}
        placeholder="Enter Markdown text here"
      />
      <div
        className="preview"
        dangerouslySetInnerHTML={getMarkdownText()}
      />
    </div>
  );
};

export default MarkdownEditor;
4. Add Basic Styles
In src/App.css, add some basic styles to make the editor more readable:
.markdown-editor {
  display: flex;
  flex-direction: column;
  height: 100vh;
  padding: 20px;
  box-sizing: border-box;
}

textarea {
  flex: 1;
  padding: 10px;
  margin-bottom: 20px;
  font-size: 16px;
  line-height: 1.5;
  border: 1px solid #ddd;
  border-radius: 4px;
}

.preview {
  flex: 1;
  padding: 10px;
  background: #f5f5f5;
  border: 1px solid #ddd;
  border-radius: 4px;
  overflow-y: auto;
}
5. Use the Markdown Editor Component
Finally, use the MarkdownEditor component in src/App.js:
import React from 'react';
import MarkdownEditor from './MarkdownEditor';
import './App.css';

function App() {
  return (
    <div className="App">
      <MarkdownEditor />
    </div>
  );
}

export default App;
Conclusion
By following the steps above, you have successfully created a basic Markdown editor. This is just a starting point; you can extend it as needed by adding features such as syntax highlighting, file saving, exporting to PDF, and more. React's component-based architecture and flexibility allow you to easily add new features while maintaining code readability and efficiency.
I hope this article helps you on your front-end development journey! If you have any questions or suggestions, feel free to reach out.
If you have any other requests, feel free to let me know!


Comments ()