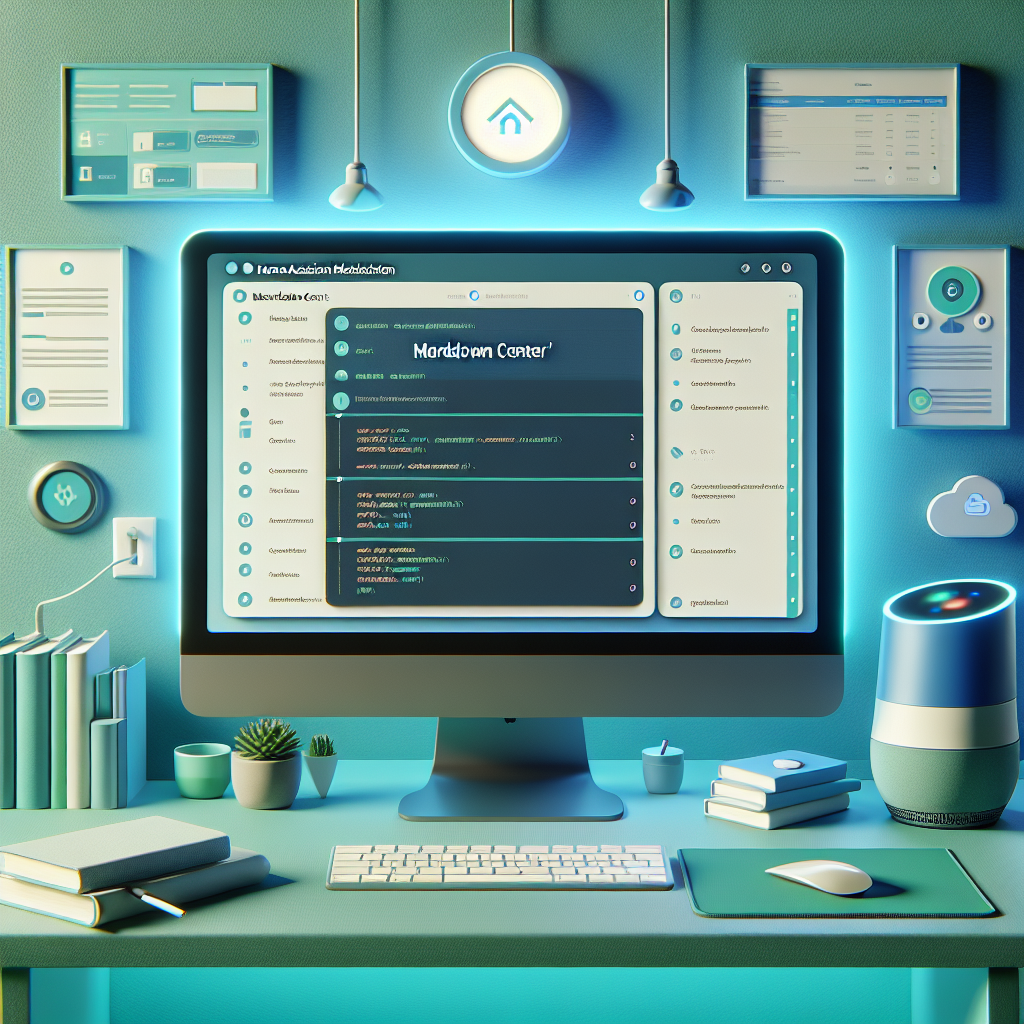
Building a Smart Home Hub: A Guide to Home Assistant Markdown Center
This article teaches how to create a custom Home Assistant control center using Markdown. It involves installing Home Assistant, setting up a Markdown card, writing a Markdown file, and adding it to the Lovelace interface for a personalized smart home experience.
"Need to convert or format Markdown? Check out our free tools– they're easy to use and always available."
In the era of smart homes, Home Assistant has become a household name. It's not just a simple automation tool but a platform that elevates your home life to a new level. In this article, we will delve into how to create an efficient, aesthetically pleasing, and powerful control center in Home Assistant using Markdown.
What is Home Assistant?
Home Assistant is an open-source home automation platform that integrates various smart devices into a unified interface, enabling automated control and scene orchestration. Whether it's lights, temperature, security systems, or entertainment devices, Home Assistant provides a seamless control experience.
Why Choose Markdown?
Markdown is a lightweight markup language known for its simple syntax and powerful expressiveness. Using Markdown in Home Assistant allows you to easily create custom interfaces that are not only beautiful but also easy to maintain and update.
Creating a Home Assistant Markdown Center
Step 1: Install Home Assistant
First, you need to install Home Assistant on your device. This can be easily done following the guidelines provided on the official website. Once installed, you will have a basic Home Assistant instance.
Step 2: Configure Markdown Card
In Home Assistant, you can use the Markdown card to display custom text content. To create a Markdown card, you need to add the following configuration to your configuration.yaml file:
panel_iframe:
  markdown:
    title: "Markdown Center"
    icon: mdi:code-braces
    url: /local/markdown.md
Step 3: Write the Markdown File
Next, you need to create a file named markdown.md in the Home Assistant configuration directory. In this file, you can use standard Markdown syntax to write your content. For example:
# Home Assistant Markdown Center

Welcome to your custom control center! Here are some quick links:

- [Living Room Lights](/lovelace/living_room)
- [Thermostat Settings](/lovelace/thermostat)
- [Security Cameras](/lovelace/security)

## Recent Updates

- Added support for voice commands.
- Improved energy monitoring dashboard.
Step 4: Add to Lovelace Interface
Finally, you need to add the Markdown card to your Lovelace interface. This can be done by editing the Lovelace configuration file and adding the following code:
views:
  - title: Main
    cards:
      - type: markdown
        content: |
          # Home Assistant Markdown Center

          Welcome to your custom control center! Here are some quick links:

          - [Living Room Lights](/lovelace/living_room)
          - [Thermostat Settings](/lovelace/thermostat)
          - [Security Cameras](/lovelace/security)

          ## Recent Updates

          - Added support for voice commands.
          - Improved energy monitoring dashboard.
Conclusion
Through the above steps, you have successfully created a Home Assistant Markdown Center. This center not only provides clear information display but also enhances your smart home experience with personalized and convenient custom links and content. Whether you are a novice or an experienced user, Home Assistant's Markdown feature can help you better manage and control your smart devices.
We hope this article helps you better understand how to leverage Markdown in Home Assistant to create an efficient control center. If you have any questions or need further assistance, please feel free to contact us. Enjoy your smart home journey!
Comments ()